A red head kit contains 3 lights (800 watt), 3 stands and selection of gels.
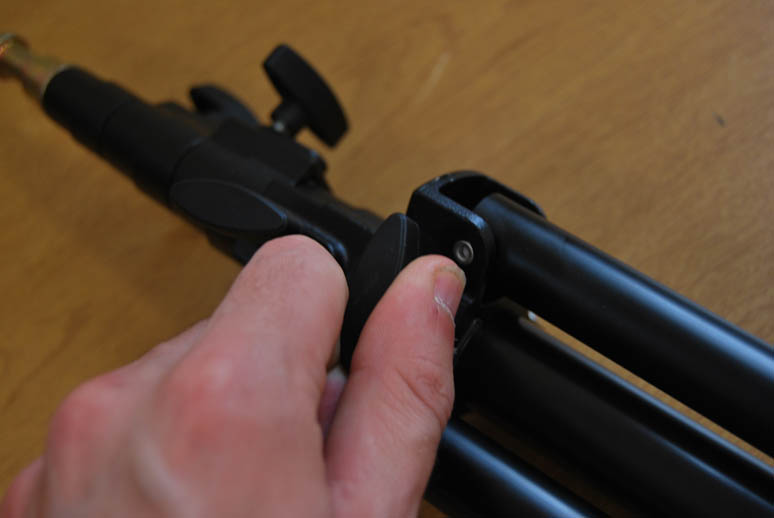
When you open the legs out to support the stand make sure you tighten the nut back up and make sure the legs are set to as far apart as possible, this makes the stand nice a stable.
 |
| Stable |
 |
| Unstable |
 |
| Unstable |


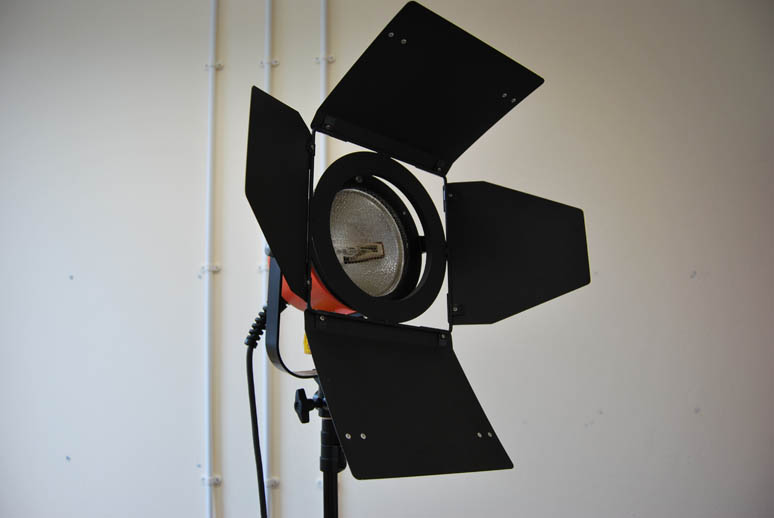

You can then place the light on top. To do this loosen the nut at the base of the light and pace it onto the top of the stand. You can fix the light to the stand in several different ways. Make sure tighten the nut back up again. Then you can move the light around and open the barn doors.


 Try attaching a gel to the light, you can use diffusion, ND or range of colours. To do this use the small metal clips found on the large barn doors to fix the gel to. Don't worry the gels can take the heat.